
Last Updated: October 25, 2026
Quick Summary
Use a room-by-room home inspection checklist to find and fix problems before the buyer’s inspector does, starting with safety items, then water intrusion, and cosmetics last. Book a pre-listing inspection about two weeks out so you can complete repairs before your listing goes live.
- Home inspections average $344 nationally, and inspectors typically spend 2 to 4 hours on site.
- Roof issues show up in 19.7% of inspections, electrical problems in 18.7%, and window defects in 18.4%.
- Clear stored items away from the attic hatch, crawl space door, electrical panel, water heater, and furnace.
- Confirm gas, water, and electricity are on, because inspectors cannot test systems that are shut off.
- Respond to a repair request with a written counter, not a verbal promise.
Table of Contents
- Why a Seller Pre-Inspection Checklist Changes the Sale
- Your Seller Pre-Inspection Checklist, Room by Room
- Common Home Inspection Issues and What They Reveal
- How to Prepare for a Home Inspection: A Step-by-Step Plan
- How Long Does a Home Inspection Take?
- What Sellers Should Not Repair or Conceal
- Responding to the Inspection Report and Repair Requests
- Frequently Asked Questions
Why a Seller Pre-Inspection Checklist Changes the Sale
A home inspection checklist for sellers is a room-by-room list of the systems and surfaces buyers will scrutinize, used to find and fix problems before the buyer’s inspector does. Home inspections average $344 nationally, and inspectors typically spend 2 to 4 hours on site, according to Opendoor’s guide to what inspectors look for.
At Advantage NC, we have completed more than 500,000 inspections since 1988, and the pattern is consistent: sellers who inspect first negotiate from facts, not from a surprise list delivered five days before closing. Roof issues show up in 19.7% of inspections, electrical problems in 18.7%, and window defects in 18.4%, per AmeriSave’s home inspection checklist. Those are the ordinary findings, not disasters. Knowing them in advance is use.
Below, we walk through the full seller pre-inspection checklist, room by room, plus what to fix, what to leave alone, and how to answer a repair request without giving away the sale.
Your Seller Pre-Inspection Checklist, Room by Room
This seller pre-inspection checklist is organized by area and priority so you can work top to bottom. Treat it as a triage list: safety items first, water intrusion second, cosmetics last.
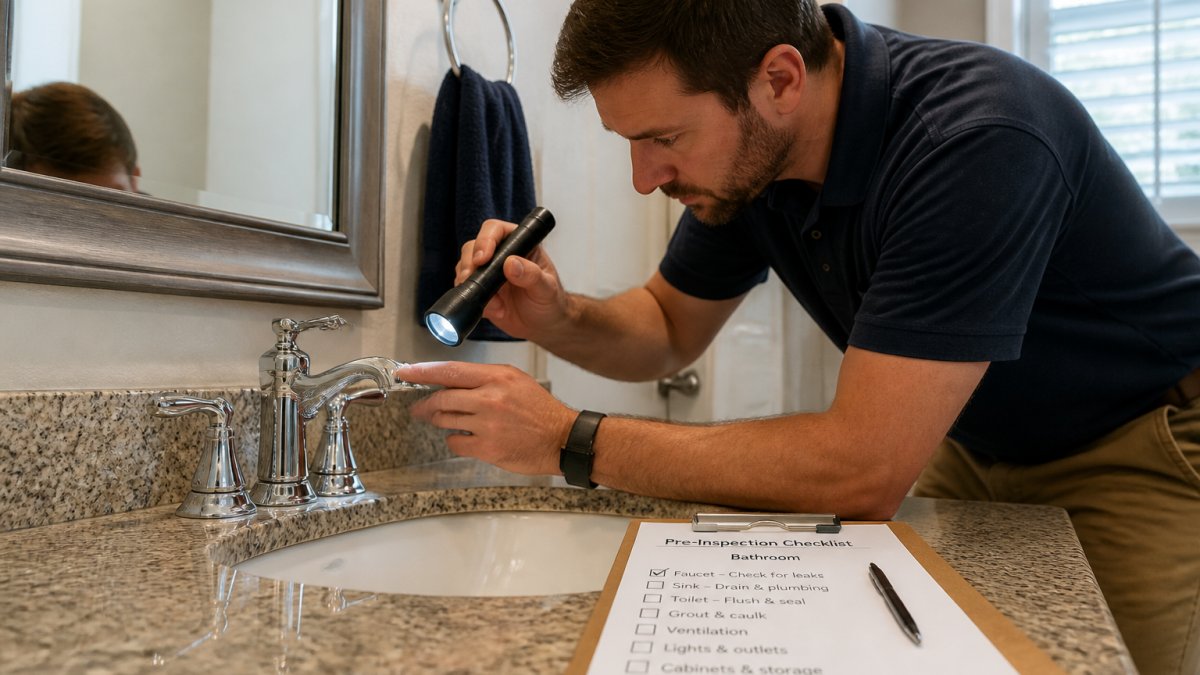
Print this section and mark each item as Safety, Access, or Cosmetic. Safety items get fixed first, access items get cleared before inspection day, and cosmetic items are optional unless they signal a larger defect.
Exterior, Roof, and Drainage Priorities
Start outside, because exterior defects are the most visible and the most expensive to argue about later. Walk the perimeter and check these:
- Roof and shingles (Safety/Cosmetic): Look for missing, lifted, or curling shingles and worn flashing around chimneys and vents. Note any sagging roofline or granule buildup in gutters.
- Gutters and downspouts (Access/Water): Clear debris and confirm downspouts discharge at least 4 to 6 feet away from the foundation. Splash blocks or extensions are cheap fixes that prevent basement moisture findings.
- Siding and paint (Cosmetic/Water): Patch peeling paint and note any soft or rotted wood. Probe suspect trim with a screwdriver; soft wood means moisture is getting in.
- Grading and drainage (Water): Soil should slope away from the house at roughly a 6-inch drop over the first 10 feet. Low spots near the foundation are a common inspector callout.
- Foundation (Safety/Structural): Look for new cracks, especially stair-step cracks in brick or block, and any gap wider than a quarter inch. Hairline cracks in poured concrete are often cosmetic; stair-step cracks in masonry warrant a professional look.
- Driveways, walks, and steps (Safety): Patch trip hazards and note any settled concrete that creates a drainage problem toward the house.
For a deeper walk-through of these items, our essential exterior home inspection checklist covers what to look for surface by surface. If the roof is your main worry, book a comprehensive roof inspection to assess condition before a buyer’s inspector gets on a ladder.
Interior Systems: Plumbing, Electrical, and HVAC
Interior systems generate the findings that scare buyers, so test them yourself first. Run every faucet and watch for slow drains, check under sinks for staining, and confirm the water heater has no corrosion at the fittings.
- Plumbing (Water/Safety): Look for active drips under sinks, corroded supply lines, and toilets that rock or run. A running toilet is a water bill issue and an inspector note.
- Electrical (Safety): Test every GFCI outlet with the test button, confirm cover plates are present, and check that the panel directory matches the breakers. Double-tapped breakers and unlabeled panels are frequent findings.
- HVAC (Access/Safety): Confirm the furnace and air handler respond to the thermostat, replace the filter, and clear the condensate drain. Note the age of the equipment; inspectors report it, and buyers price it.
None of this requires a professional, but it does require honesty. If a system is at the end of its life, a pre-listing inspection will surface it, and you are better off pricing that reality into your list price than defending it under contract.
Kitchen, Bathrooms, and Living Spaces
Inside the house, the checklist narrows to water, ventilation, and safety:
- Kitchen (Water/Safety): Test the range hood, check for loose cabinet hinges, and confirm the dishwasher drains without pooling. Look under the sink for staining and confirm the garbage disposal runs without leaking.
- Bathrooms (Water/Safety): Look for caulk gaps, loose toilet bases, and exhaust fans that actually move air. Hold a tissue to the fan grille; if it does not hold, the fan is not moving enough air.
- Living spaces (Cosmetic/Safety): Check windows for broken seals and sticky operation, doors for alignment, and floors and ceilings for water stains. Test every light switch and outlet you can reach.
Cosmetic wear and tear is normal. Buyers expect it. What they do not expect is a bathroom fan venting into the attic.
The printable version of this checklist is the fastest way to prepare: print it, tag each item Safety, Access, or Cosmetic, and work the Safety items first. That order matches how inspectors write reports and how buyers prioritize repair requests.
Common Home Inspection Issues and What They Reveal
Common home inspection issues cluster into a short list, and each one tells you something about maintenance history. Roof problems, electrical defects, and window issues top the frequency chart, per AmeriSave’s 2026 inspection data. A missing downspout extension reveals a homeowner who never thought about drainage.
| Finding | What It Usually Means | Seller Action |
|---|---|---|
| Missing or curling shingles | Roof near end of service life | Get a roof assessment; disclose or repair |
| Ungrounded or dead outlets | Older wiring, DIY work | Have a licensed electrician correct it |
| Fogged window seals | Failed thermal units | Repair or disclose as cosmetic |
| Water stain on ceiling | Past or active leak | Find the source before listing |
| Soil sloping toward house | Drainage problem | Regrade and extend downspouts |
That table helps separate minor fixes from major conversations. Do the cheap ones. Disclose the expensive ones.
How to Prepare for a Home Inspection: A Step-by-Step Plan
Knowing how to prepare for a home inspection is mostly logistics plus honesty, and it fits into a two-week window.
Step 1: Book a pre-listing inspection (2 weeks out). Fix what it finds while you still have time. Schedule it early enough that you can get a contractor out for any safety or water findings before your listing goes live. Clearing away clutter and securing loose wires not only streamlines the repair process but also establishes a safe inspection environment that allows the professional to focus entirely on the structural integrity of your property.
Step 2: Complete safety and water repairs (week 2). Address detectors, GFCI outlets, active leaks, and any trip hazards.
Step 4: Clear access (3 days out). Inspectors need to reach the electrical panel, attic hatch, crawl space door, water heater, and furnace. Move stored boxes and confirm each access point opens fully. A blocked crawl space door often becomes a report limitation that worries buyers more than the crawl space itself.
Step 5: Clean and declutter (2 days out). A clean house reads as a maintained house. Wipe down appliances, clear counters, and make sure every light bulb works. Replace burned-out bulbs; inspectors test what they can see.
Step 6: Gather documentation (day before). Collect permits, service records, and warranty paperwork for the inspector and buyer.
Step 7: Plan your inspection-day conduct (day of). Be absent or stay out of the way, leave keys and access codes, and secure pets.
Inspection-Day Logistics and Seller Conduct
Most checklist-focused guides stop at preparation and skip the day itself. Here is what actually happens and how to handle it:
- Should you be present? Most sellers are not. Being absent lets the inspector work efficiently and avoids the appearance of hovering. If you want to learn, ask whether you can return for a brief walk-through at the end.
- Access: Leave keys, garage codes, and gate codes with your agent or in a lockbox. Confirm the inspector can reach the attic, crawl space, electrical panel, and water heater.
- Pets: Secure pets away from the house or in a crate. An anxious pet can slow the inspection or create a safety issue.
For a companion guide to the day itself, our guide to preparing for a home inspection walks through the same timeline in more detail.
Do not schedule repairs during the inspection window. Contractors and inspectors in the same house create confusion, and unfinished work can look like concealment. Finish repairs before inspection day or schedule them after the report is delivered.
How Long Does a Home Inspection Take?
A home inspection usually takes 2 to 4 hours, depending on the size, age, and condition of the house. Inspectors spend that time evaluating accessible major systems and then produce a detailed written report, according to Opendoor’s inspection overview. Larger homes, crawl spaces, and older systems push toward the longer end.
Plan for the report to arrive within a day or two after the walk-through. Read it fully before you respond to anything, because the summary page and the body of the report do not always tell the same story.
What Sellers Should Not Repair or Conceal
Not every finding deserves a repair, and some repairs create more risk than they remove. Sellers are not legally required to fix everything a buyer’s inspector finds, though disclosure obligations may still apply, as Rocket Mortgage explains. Requirements vary by state and locality, so confirm your obligations before you decide.
Do not:
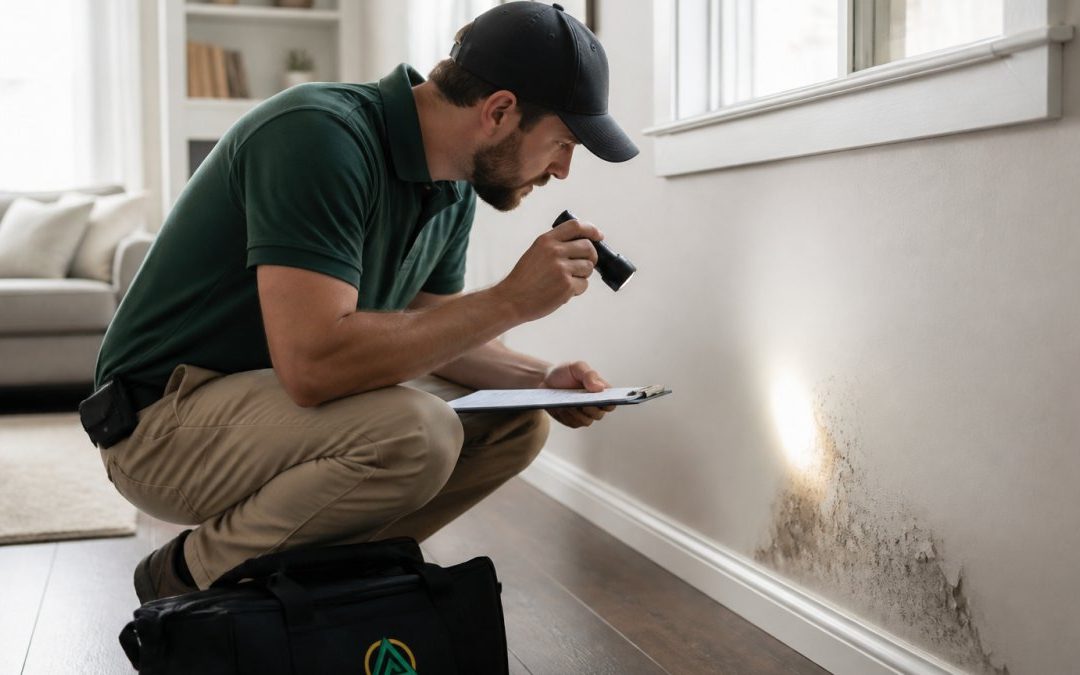
- Paint over water stains without fixing the source. A buyer’s inspector will read the fresh paint as concealment.
- Patch cosmetic cracks in a way that hides structural movement.
- Replace a failed system days before listing if it means cutting corners on permits.
Watch out: hiding a known defect is where sellers get into real trouble. Disclose it, price it, and move on.
Responding to the Inspection Report and Repair Requests
Respond to a repair request with a written counter, not a verbal promise. Read the full report, separate safety and structural items from cosmetic ones, and decide which you will fix, which you will credit, and which you will decline with a reason.
Our reports are built for exactly this moment. You can create an editable Due Diligence Repair Request directly from your Advantage Inspection report, then edit and save it.
Frequently Asked Questions
What is the biggest red flag in a home inspection?
Structural problems top the list, including foundation cracks, sagging rooflines, and water intrusion in basements or crawl spaces. Roof issues appear in 19.7% of inspections, electrical problems in 18.7%, and window defects in 18.4%, according to AmeriSave. These findings matter because they can signal expensive repairs or safety hazards. Sellers should address visible signs early and disclose known defects rather than hoping a buyer’s home inspection misses them.
Should a seller be present during a home inspection?
Most inspectors recommend sellers stay away during the inspection. Buyers and their agents need to ask candid questions and examine the property without distraction. Sellers should leave keys, access codes, and clear paths to the attic, basement, and electrical panel. Being present can make buyers uncomfortable and may unintentionally highlight problems. Plan to be out for the full window, which often runs 2 to 4 hours according to Opendoor.
What should sellers fix before a home inspection?
Focus on safety and visible maintenance: replace burned-out bulbs, fix leaky faucets, clear gutters and downspouts, and repair damaged screens or weatherstripping. Test smoke and carbon monoxide detectors. These small fixes prevent minor issues from cluttering the inspection report. Major systems like HVAC, plumbing, and electrical should be serviced if you have records of problems. A seller pre-inspection checklist helps you prioritize repairs that protect your negotiating position.
Do sellers have to make repairs found in a home inspection?
No. Sellers are not legally required to fix items a buyer’s inspection identifies, according to Rocket Mortgage. However, disclosure laws may require you to reveal known issues, and buyers can request repairs or credits during negotiations. Refusing all repairs can stall a sale, especially in competitive markets. A practical approach is to address safety hazards and major defects while negotiating on cosmetic items. Consult local rules for disclosure requirements.
How long does a home inspection take?
Inspectors typically spend 2 to 4 hours on site, depending on the home’s size, age, and condition, per Opendoor. The written report usually arrives within 24 to 48 hours. Sellers should plan to be away for the full visit and ensure the inspector can access the attic, crawl space, electrical panel, and water heater. Clearing clutter and providing keys or codes helps the inspection run on schedule.
What happens if a home inspection finds problems?
The buyer may request repairs, ask for a credit, or walk away if the inspection contingency allows it. Sellers can negotiate, counter with a price adjustment, or complete some fixes before closing. Roof and electrical issues appear frequently, so having service records ready helps. A pre-listing inspection from Advantage NC can surface problems before buyers do, giving you time to decide what to repair and what to disclose.
Selling a house means answering questions you did not choose, and the sellers who answer them first keep the upper hand. Advantage NC has performed over 500,000 inspections since 1988, backed by a verified 4.9-star rating across more than 1,900 reviews, detailed reports built for due diligence, and a 30-day protection program. Get started with Advantage NC and walk into your listing with the findings already in hand. Schedule your pre-listing inspection.


Recent Comments