
Last Updated: November 8, 2026
Quick Summary
After a bad home inspection report, read the full report, sort findings into safety concerns, major defects and routine maintenance, and check your contract’s inspection deadline right away. A short, specific list of documented items usually gets a clearer response than a long one.
- A report documents visible conditions and is not a repair list.
- Check your purchase agreement’s inspection deadline as soon as you receive the report.
- Sort findings into safety concerns, major defects and routine maintenance.
- Choose a repair request, seller credit or price reduction based on your situation.
- Confirm how a seller credit would be capped by your loan type before you ask.
Table of Contents
- What a Bad Home Inspection Report Actually Means
- What to Do First After Receiving the Inspection Report
- How to Prioritize Safety Issues, Major Defects and Routine Maintenance
- What Happens After a Home Inspection for a Buyer
- Reasonable Requests After a Home Inspection
- Who Verifies Repairs After a Home Inspection
- Booking Your Next Step: Specialist Inspections and Reviewing Your Options
- Frequently Asked Questions
What a Bad Home Inspection Report Actually Means
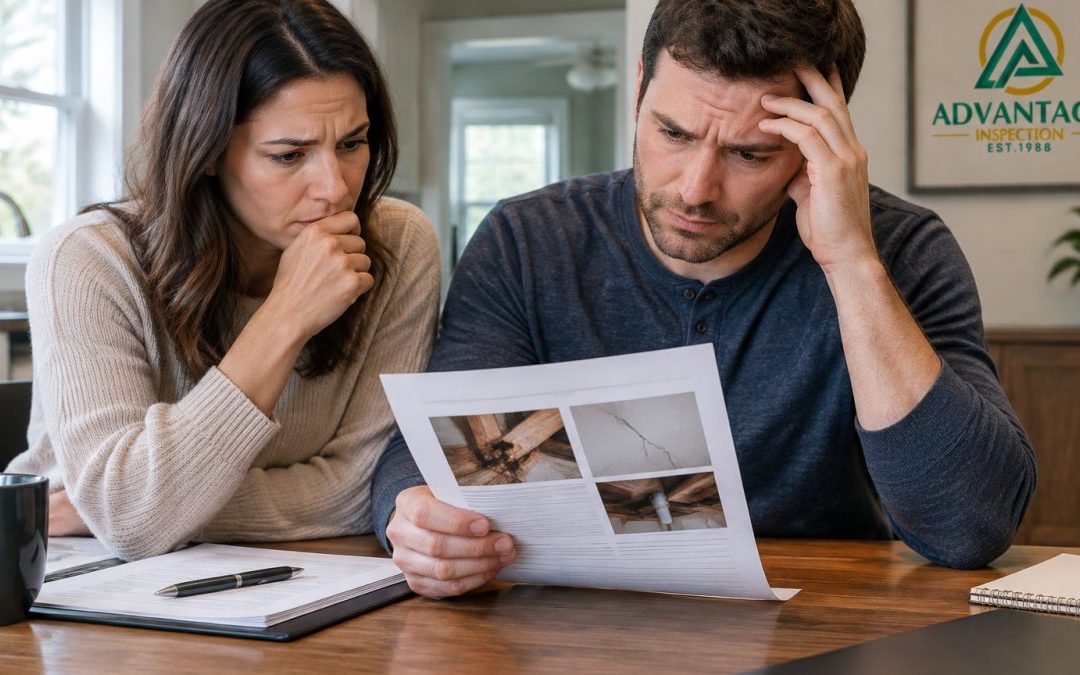
A bad home inspection report is not the same thing as a bad house. Most reports list many items, and that is normal. A report documents visible conditions at the time of the inspection. Each finding still needs to be evaluated on its own terms.
Here is the first thing to remember: a report is not a repair list. Your report describes what the inspector saw, which is useful, but it does not tell you what must be fixed before closing.
Some findings matter more than others. A few items may point to safety concerns or larger defects. Many others are minor wear that a seller or buyer can reasonably live with. Learning to tell them apart is the real work after a difficult report.
Keep in mind what a home inspection is not. Reports describe visible conditions and are not repair estimates, code inspections or insurance coverage. Advantage Inspection performs inspection and testing, not repairs. Any repair work is handled by a licensed contractor, and their scope and pricing come from their own evaluation.
What to Do First After Receiving the Inspection Report
Read the full report before you react. Our guide on how to read a home inspection report walks through the terms and findings you’ll see. Many findings look alarming in a summary but turn out to be minor once you see the photos and the inspector’s notes.

Start with these steps:
- Read every page, including photos and notes marked as limitations
- Mark items that involve safety, water, structure or electrical systems
- Ask your inspector to explain anything unclear
- Note your contract’s inspection deadline right away
Your purchase agreement sets the timeline for responding to inspection findings. Missing that deadline can affect your options, so check the dates in your contract with your agent or attorney as soon as you receive the report.
Many buyers also schedule a call with their agent to talk through the report before deciding anything. A short, calm review often prevents rushed choices.
How to Prioritize Safety Issues, Major Defects and Routine Maintenance
Sorting findings into three groups makes the report easier to handle:
- Safety concerns: Items that could cause injury or fire, such as exposed wiring or gas-appliance problems
- Major defects: Larger system or structural issues that may cost significant money to repair
- Routine maintenance: Wear and upkeep items, such as worn caulking or a dirty furnace filter
Safety concerns usually deserve the fastest attention. If the report flags electrical items, you can review our electrical service for a specialist evaluation. Ask a qualified professional to evaluate them if the report recommends it. Watch out: some items the report flags for specialist evaluation need that evaluation before you decide anything, so do not assume a general inspection answered the question.
Routine maintenance rarely justifies walking away from a home. It is often reasonable to handle these items yourself after closing.
What Happens After a Home Inspection for a Buyer
After you review the report, you generally have a few paths. You can accept the home as is, ask the seller to address certain items, request a credit or price change, or back out within the contract terms.
Each path depends on your contract. An inspection contingency gives you a window to act, and the details vary by agreement. Your agent and an attorney can explain what your contract allows.
Some buyers order additional specialist inspections for systems the general inspection flagged. Those reports can clarify whether an issue is minor or serious before you negotiate.
Reasonable Requests After a Home Inspection
Requests work best when they are specific, tied to documented findings, and framed as a business decision rather than a verdict on the house. For more on deciding what to ask for, see handling inspection outcomes. Vague requests tend to stall negotiations, and emotional language tends to harden the seller’s position.
Before you draft anything, decide which of three levers you actually want to pull. They are not interchangeable, and each has trade-offs.
- Repair request: You ask the seller to fix specific items before closing. Best for safety issues and defects that must be resolved for the home to be livable or insurable. The trade-off is that you are trusting someone else’s contractor and timeline, and you may not see the work until a final walk-through.
- Seller credit at closing: The seller agrees to a dollar credit toward your closing costs. Best when you want to choose your own contractor and control the quality of the work. The trade-off is that lenders cap seller credits based on loan type and down payment, so a large credit may not be fully usable, confirm the cap with your loan officer before you ask.
- Purchase-price reduction: The sales price drops by an agreed amount. Best when repair costs are significant and you want the savings reflected in your loan and your long-term cost. The trade-off is that it lowers the price for appraisal and tax purposes too, and some sellers resist renegotiating price after signing.
A practical negotiation toolkit starts with a written request that mirrors the report. Use the inspector’s language and reference the page or item number. A short template works:
“Based on the inspection dated [date], we request the following items be addressed prior to closing: (1) [finding as written in the report], (2) [finding], (3) [finding]. We are requesting [repair by a licensed contractor / a credit of $[amount] at closing / a price reduction of $[amount]]. Please respond by [date tied to your contract deadline].”
Keep the list short. A short list of well-documented items usually gets a clearer response than a long list that includes cosmetic wear. Requests for cosmetic fixes or items the inspector called ordinary wear are more likely to be declined, and that is part of normal negotiation.
Watch out: a credit or price reduction is not the same as cash in hand. Confirm with your loan officer how a credit or a lower price would affect your closing costs, loan amount and monthly payment before you choose.
Ask for repairs to be performed by a licensed professional, with receipts and any required permits. If the seller proposes their own contractor, you can ask for the contractor’s name and license information and, where the contract allows, a reinspection before closing.
Before you pick a request, compare the three levers the article describes:
| Lever | Best for | Key trade-off |
|---|---|---|
| Repair request | Safety issues and must-fix defects | You rely on the seller’s contractor and timeline |
| Seller credit at closing | Choosing your own contractor | Lenders cap seller credits by loan type |
| Purchase-price reduction | Significant repair costs | Lowers the price used for appraisal and taxes |
Who Verifies Repairs After a Home Inspection
If the seller agrees to repairs, verification is your job, not the seller’s. The goal is to confirm that the work described in the agreement was actually completed, by a qualified professional, before you close. This is one of the areas most buyers handle loosely, and it is where a little structure pays off.
Build a simple verification file with these items:
- The written repair agreement, the addendum or response that lists exactly what the seller agreed to do
- Invoices and receipts from the contractor, showing the scope of work and the date completed
- Permit records where the work requires a permit, such as certain electrical, plumbing, structural, or roofing changes; your local building department can confirm whether a permit was pulled and whether the work passed inspection
- Contractor licensing information, most states, including North Carolina, maintain a public license lookup through the state licensing board, so you can confirm the contractor was qualified for the trade
- Any warranty or workmanship guarantee the contractor provided, and whether it transfers to you as the new owner
A reinspection is the most direct way to confirm the work. Many buyers request a follow-up inspection of the repaired items, either from their original inspector or a specialist in that trade. A reinspection checks visible conditions of the repaired area and compares them against what was agreed.
Watch out: a receipt proves someone was paid, not that the work was done correctly or to code, ask for the permit inspection result and, for major systems, a reinspection rather than relying on paperwork alone.
Timing matters. Schedule the reinspection early enough that you still have room under your contract to raise a problem before closing. If the work is incomplete or does not match the agreement, tell your agent in writing right away so the issue is documented while you still have leverage.
Keep all documents from the repair process together with your inspection report. They can matter later if a problem reappears, if you sell the home, or if a warranty claim comes up.
Booking Your Next Step: Specialist Inspections and Reviewing Your Options
Some findings call for a closer look than a general inspection provides. Advantage Home Inspection can help you confirm the scope of your next step, and you can book a home inspection with Advantage. Specialist inspections can help you judge whether an issue is minor or serious. Advantage Inspection offers several targeted services, including roof inspection, sewer scope inspection, septic inspection and radon gas testing.
If you want help understanding your report or deciding on a follow-up step, you can book a home inspection with Advantage. Our team can explain what we observed and what it means for your next decision.
After a bad inspection report, the best move is usually a calm review, a clear list of priorities and a realistic request. Take the time to sort the findings, check your contract deadlines, and get the answers you need before you decide.
Frequently Asked Questions
What happens if a home inspection comes back poor?
A poor inspection report does not automatically mean a deal is dead. Most reports list visible conditions at the time of the inspection, including ordinary wear, deferred maintenance and items that need repair. The next steps usually depend on your purchase agreement and inspection contingency period, which set the deadline for responding in writing. Review the findings with your agent, separate safety concerns from routine maintenance, and decide whether to request repairs, ask for a credit or price reduction, order specialist evaluations, or proceed. Confirm deadlines and written-notice requirements with your real estate attorney or agent, since they vary by contract.
Can a buyer walk away after a bad home inspection?
In most cases, a buyer who relies on an inspection contingency can cancel the purchase agreement within the contingency period if the inspection findings are unacceptable and the buyer has not already waived the contingency. Timing and written-notice requirements are set by the contract, so missing a deadline can remove this option. Before deciding, review the report carefully, consider whether specialist inspections are needed, and talk with your agent or attorney about how your specific contract applies. This is general information, not legal advice.
Who verifies repairs after a home inspection?
Repairs agreed to in negotiation are typically verified by the buyer, often through a reinspection or by reviewing contractor invoices and receipts before closing. Advantage Inspection performs inspections and testing; it does not perform repairs. If a repair involves an item the inspection flagged, a licensed contractor should complete the work and provide documentation. A reinspection can confirm that a specific item was addressed, though it does not guarantee the quality of the repair. Request written proof of completed work, and review the scope of any agreement with your agent.
What should I do first after receiving a home inspection report?
Read the entire report, including photos and the inspector’s notes, before reacting to the summary. Mark the items you do not understand and ask the inspector to explain them. Then check your contract’s deadlines for responding to findings. Share the report with your agent, and if a specific concern involves an area the general inspection does not cover, such as a sewer line, roof, septic system or environmental condition, ask whether a specialist evaluation makes sense. Avoid making decisions based on the page count alone.


Recent Comments