

Table of Contents
- What Does a Commercial Building Inspection Include?
- Commercial Building Inspection Checklist: System-by-System
- How Long Does a Commercial Building Inspection Take?
- What to Expect in a Commercial Property Inspection Report
- Commercial Property Inspection Red Flags to Watch For
- How to Prepare for a Commercial Building Inspection
- Conclusion: Turning Inspection Findings into Action
- Frequently Asked Questions
Last Updated: October 18, 2026
What Does a Commercial Building Inspection Include?
A commercial building inspection is a visual, non-invasive review of a property’s major systems and site conditions.
Buying commercial property is a high-stakes decision. Unlike a house, one missed deficiency can affect tenants, insurance, and your ability to lease the space.
The inspection is a walk-through survey built on visual observation. It is not a warranty, and it is not a code-compliance review.
The Walk-Through Survey: What Inspectors See
The walk-through survey is the core of every commercial property inspection. An inspector moves through the building and across the site, recording visible conditions, deficiencies, and signs of deferred maintenance.
We look at what is accessible and observable. That means:
- Site characteristics, paving, and landscaping
- The structural frame and foundation, where visible
- Roof surface and building envelope
Each finding goes into the inspection report with a description and, where relevant, a repair recommendation. The goal is a clear picture of property condition, not a guess at what is hidden.
What a Visual Inspection Cannot Assess
A visual inspection cannot assess what is concealed or requires destructive testing. An inspector does not open walls, dig up foundations, or test every wire.
This is the part most buyers get wrong. They assume a clean report means a clean building. It does not.
Concealed conditions, underground utilities, and structural elements behind finishes fall outside the inspection scope. So do environmental hazards that need lab work, such as mold or asbestos.
Treating a visual inspection as a guarantee is a costly mistake. Hidden defects behind walls or under slabs will not appear in the report, and no inspector can certify what they cannot see.
Commercial Building Inspection Checklist: System-by-System
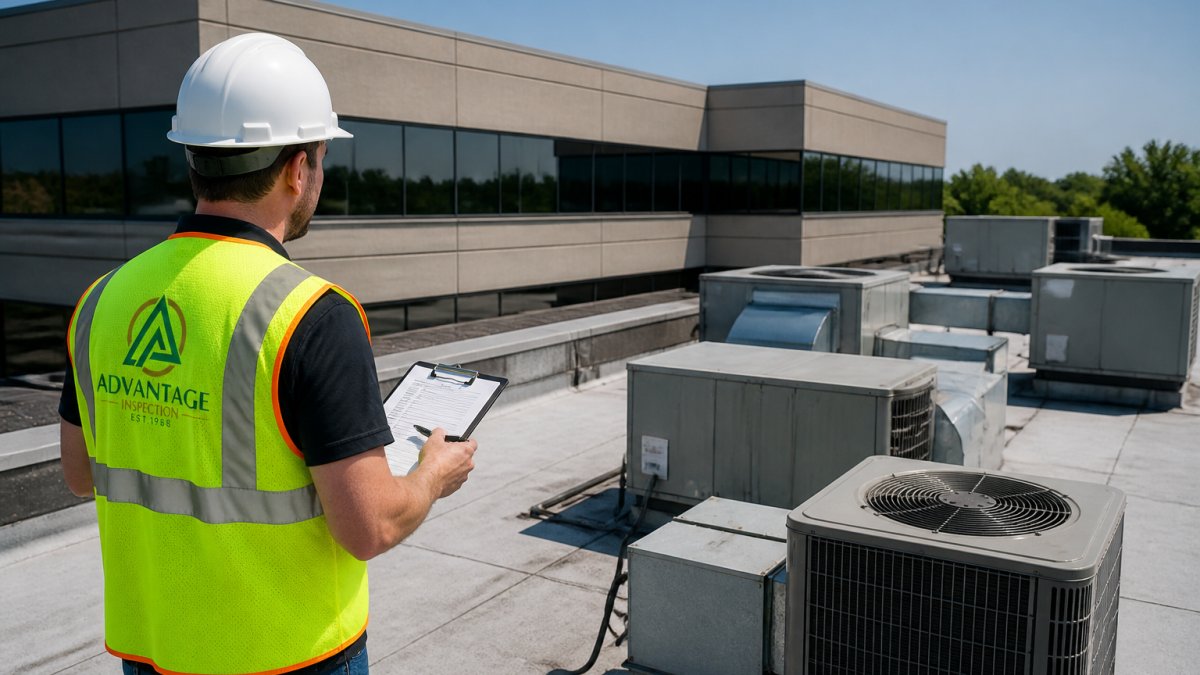
A commercial building inspection checklist keeps the walkthrough consistent and complete. The version below is the structure we follow on site, with the specific conditions an inspector records under each system.
Site Characteristics, Paving, and Landscaping
- Grading and drainage: slope away from the building, ponding, eroded swales, downspout discharge points
- Paving: alligator cracking, rutting, settlement at catch basins, trip hazards at transitions
- Landscaping: roots or vegetation in contact with the envelope, irrigation lines near the foundation
Poor drainage is a common red flag. Water pooling near the foundation points to future problems, and repeated ponding often shows up as efflorescence or staining at the base of walls.
Structural Frame and Foundation
- Foundation: visible cracks, step cracking at corners, settlement, spalling at exposed concrete
- Frame: columns, beams, and connections where exposed; deflection, corrosion, or fire damage
- Movement indicators: out-of-square door openings, cracked interior finishes that track with exterior cracks
Visible damage gets noted with a repair recommendation. An inspector describes what is observable and refers structural questions to a licensed engineer rather than diagnosing them.
Roof and Building Envelope
- Roof covering: membrane or shingle condition, blisters, ponding, granule loss, seam separation
- Flashing and penetrations: curbs, pitch pans, scuppers, drains, and terminations
- Envelope: sealants, expansion joints, parapet caps, and transitions between roof and wall
Roof age and condition often drive maintenance needs. A worn roof is one of the most common deferred maintenance items we record, and ponding water is frequently the first visible symptom of a drainage or slope problem. Persistent moisture intrusion from these structural failures necessitates a proactive common area maintenance checklist to ensure long-term building integrity.
Exterior Walls, Windows, and Doors
- Walls: cracking, spalling, efflorescence, sealant failure, and cladding attachment where visible
- Windows: failed seals, fogged glazing, operability, and flashing at sills and heads
- Doors: hardware, closers, thresholds, and weather sealing at exterior openings
These small defects add up to big repair bills if ignored. Water intrusion at a failed sealant joint, for example, often shows up inside as staining long before it is visible outside.
HVAC, Electrical, Plumbing, and Life Safety Systems
- HVAC: equipment age and condition, visible refrigerant lines, condensate drainage, filters, and rooftop unit curbs
- Electrical: service entrance, panel labeling, breaker condition, visible wiring methods, and ground connections
- Plumbing: supply and drain piping where exposed, fixture condition, water pressure, and evidence of leaks
We describe visible condition and flag anything that needs a licensed trade to evaluate. An inspector does not test refrigerant charge, load-test panels, or flow-test sprinkler systems; those are specialist evaluations.
Bring this checklist to the walkthrough. If a system on it is not accessible, ask the inspector to note that in the report. An explicit ‘not inspected’ note is more useful than silence.
Interior Spaces and Finishes
- Common areas: ceilings, floors, walls, and stairwells
- Tenant spaces: condition where access is granted, water staining, and evidence of leaks
- Mechanical rooms: housekeeping, combustion air, and clearances around equipment
Interior finishes are not cosmetic only. Stained ceiling tiles and bubbling paint are often the first visible sign of a roof or plumbing leak above.
Visible Defects, Damage, and Deferred Maintenance
Every system above feeds one running list: visible defects, damage, and deferred maintenance. The report groups these by system, notes severity where it can be judged visually, and recommends repair or further evaluation. That list, not the narrative, is what you price out during negotiations.
How Long Does a Commercial Building Inspection Take?
Commercial building inspection duration depends on building size, age, and the number of systems. A small, simple building takes less time than a large, complex one with multiple tenants and rooftop equipment.
As a general guide:
| Building Size | Typical Duration | Main Factors |
|---|---|---|
| Small retail or office | Half a day | Few systems, simple roof |
| Mid-size multi-tenant | Most of a day | More HVAC, electrical, plumbing |
| Large or complex property | Multiple days | Size, age, access, system count |
Access matters too. Locked areas, occupied tenant spaces, and roof access can all extend the timeline. Plan for the walkthrough to take longer on older buildings with more deferred maintenance.
What Drives Inspection Cost
Inspection fees are quoted per property, not per square foot alone, and the drivers are predictable:
- Building size and system count: more rooftop units, panels, and restrooms mean more time on site
- Age and condition: older buildings with deferred maintenance take longer to document
- Access and occupancy: tenant coordination, roof access, and locked mechanical rooms add scheduling time
A common pattern is that buyers focus on the fee and overlook the cost of a thin report. The inspection is a small fraction of the purchase price; the findings it surfaces are what move the budget.
Scheduling Variables
- Due diligence window: most purchase contracts set a fixed inspection period, so book early
- Tenant notice: occupied buildings may require advance notice to tenants
- Weather: roof and exterior review can be limited by rain, snow, or high wind
- Season: heating and cooling systems are best observed in the season when they run
How to Interpret and Prioritize the Findings
A report is a risk map, not a pass/fail grade. Read it in three passes:
- Safety and immediate action: fire-protection deficiencies, exposed wiring, active leaks, and structural movement indicators
- Repair before occupancy or lease-up: roof, HVAC, and envelope items that affect tenants and insurance
- Monitor over time: routine maintenance and items that are aging but functional
Ask the inspector to separate ‘fix now’ items from ‘monitor over time’ items. That split turns a long report into a clear priority list you can price out during negotiations, and it helps you tell a seller which items are conditions of closing versus future capital planning.
A short inspection timeline is not a virtue if it comes from skipped access. A report that says ‘roof not accessed’ or ‘mechanical room locked’ leaves you negotiating blind on the most expensive systems.
What to Expect in a Commercial Property Inspection Report
A commercial property inspection report documents visible conditions, deficiencies, and repair recommendations. It is written for the due diligence process, so you can weigh risk before closing.
A solid report includes:
- A summary of major findings
- System-by-system descriptions
- Photos of notable deficiencies
- Repair recommendations and items for further evaluation
Read it as a risk map, not a pass/fail grade. The report tells you where money may need to go. Our reports are built to be clear enough to act on, even for first-time commercial buyers.
Commercial Property Inspection Red Flags to Watch For
Commercial property inspection red flags are the findings that deserve immediate attention. Spotting them early lets you negotiate or walk away before closing.
Watch for these:
- Foundation cracks or signs of settlement
- Active roof leaks or a roof near the end of its life
- Water staining that points to envelope failures
- Outdated electrical panels or exposed wiring
Any one of these can shift your repair budget. Several together should prompt a closer look before you commit.
Ask your inspector to separate “fix now” items from “monitor over time” items. That split turns a long report into a clear priority list you can price out during negotiations.
How to Prepare for a Commercial Building Inspection
Preparation makes the walkthrough faster and the report sharper. A little planning goes a long way.
Follow these steps:
- Gather documents. Collect leases, maintenance records, and any prior inspection reports.
- Provide access. Arrange keys or codes for all units, mechanical rooms, and the roof.
- Clear the path. Make sure panels, equipment, and access points are reachable.
- Note your concerns. Tell the inspector about any known issues or specific worries.
- Confirm the scope. Agree on what is included before the visit, so nothing is assumed.
The more access and information you provide, the more complete the visual observation will be.
Conclusion: Turning Inspection Findings into Action
A commercial building inspection gives you the facts you need to make a confident decision. It shows visible conditions, flags deficiencies, and points to the maintenance needs that will shape your budget.
The findings only help if you act on them. Use the report to prioritize repairs, negotiate terms, and plan for the work ahead.
At Advantage NC, we have completed over 500,000 inspections and hold a verified 4.9-star rating from more than 1,900 reviews. Our detailed reports and 30-day protection program support your due diligence from start to finish. Schedule your commercial building inspection and move forward with clear, reliable information.
Frequently Asked Questions
What are the biggest red flags in a commercial building inspection?
Common red flags include foundation cracks wider than a quarter inch, roof leaks or ponding water, HVAC units past their service life, electrical panels with double-tapped breakers or missing labels, plumbing leaks or corrosion, and evidence of water intrusion around windows or doors. Any sign of deferred maintenance, such as peeling paint or damaged paving, can signal larger hidden issues. Your report should flag these items for further evaluation by a specialist before you waive contingencies.
How long does a commercial building inspection take?
A typical commercial building inspection takes two to four hours for a small retail or office building under 10,000 square feet. Larger or more complex properties, such as multi-tenant buildings or those with extensive mechanical systems, can take six hours or more. The duration depends on square footage, building age, number of systems, and accessibility. Your inspector should provide a time estimate when you schedule, and you are welcome to attend the walk-through to ask questions.
Does a commercial building inspection include the roof, HVAC, and electrical systems?
Yes, a standard commercial building inspection includes visual observation of the roof, HVAC, and electrical systems. The inspector will check the roof covering, flashing, and drainage; the condition and operation of HVAC equipment; and the electrical service, panels, wiring, and fixtures. However, the inspection is visual and non-invasive, so it does not include dismantling equipment or testing every component. Your report will note any deficiencies and recommend further evaluation by licensed specialists when needed.
What should I expect in a commercial property inspection report?
A commercial property inspection report typically includes a summary of findings, photographs, and a system-by-system narrative covering site, structure, roof, exterior, HVAC, electrical, plumbing, and life safety. It lists visible deficiencies, damage, and deferred maintenance items, along with repair recommendations and suggestions for further evaluation. The report should be clear enough for you to prioritize repairs and negotiate with the seller. Ask your inspector to walk you through the report if any findings are unclear.
Buying commercial property means managing risk, and the inspection is where that risk becomes visible. Advantage NC brings decades of experience, detailed reporting, and a 30-day protection program to every commercial building inspection. Get started with Advantage NC and turn your inspection findings into a clear plan for your next property.

Recent Comments